Winter in Vermont, "Twilight"
Nov 11, 2019
 Hello and Welcome Friends!
Winter in Vermont is very beautiful, if just a little bit cold. The waning hours of daylight, frozen rivers and lakes, and the snow covered mountains create a rich backdrop for the well known, charming New England towns and villages. I've been very fortunate to live here for nearly 30 years and I never tire of it.
If you've been reading what I write here, you know that I frequently draw my inspiration from my proverbial back yard. In this case, I drew on it twice. The first time was when I did a linocut print called "Twilight Village." (I have always liked that print and it has been pretty popular.) But with a larger press, I felt that the idea would benefit from an increase in the scale of the image. So I set about reworking the composition and spent a week composing a drawing. Here's the drawing:
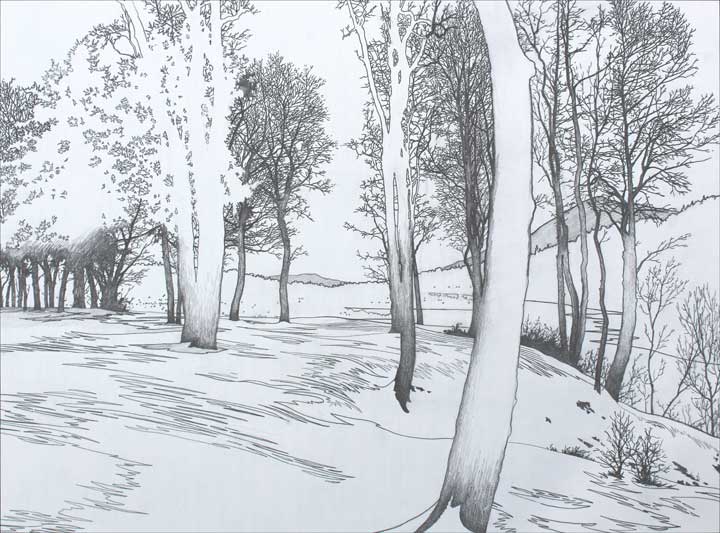
Preparatory drawing for "Twilight", pencil on paper, 18½" x 25"
My drawing style has much more to do with providing a map as to how to carve than it does depicting what I want the scene to look like. For instance, this is going to be a night/dusk scene in winter. In all, this drawing took a week to complete. I transferred the drawing to my wood block and got underway.
The first step was really pretty simple but very time consuming. Before carving anything, I inked two different yellows which are going to be the lights of the town (see those little dots going across the center, in the background of the drawing?) After two days printing I had 30 of these big sheets of paper that looked like this:
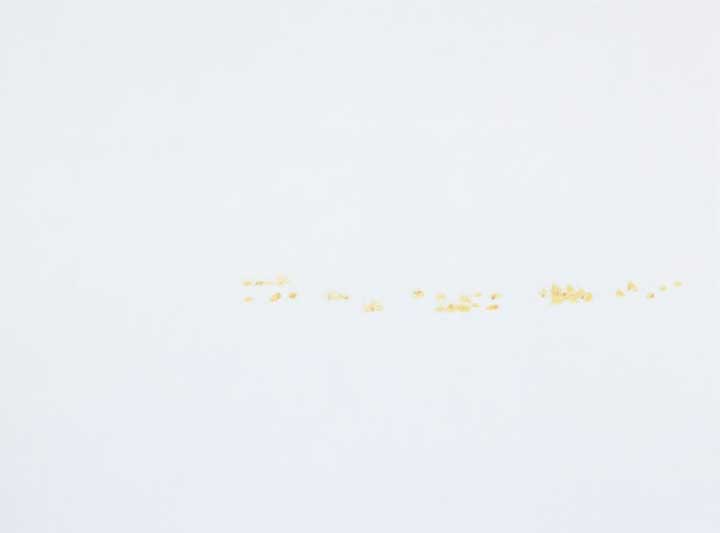
OK, not very exciting.... I know. Often while making these prints there are steps which can seem insignificant and even a little puzzling if you're not the one doing them. But this is a technique I've used quite a few times and I always love the results. Below are the next three steps and you can see that it falls together right away with the addition of these impressions. I applied multiple colors of ink for each impression and each of the steps below took at least two days to print.
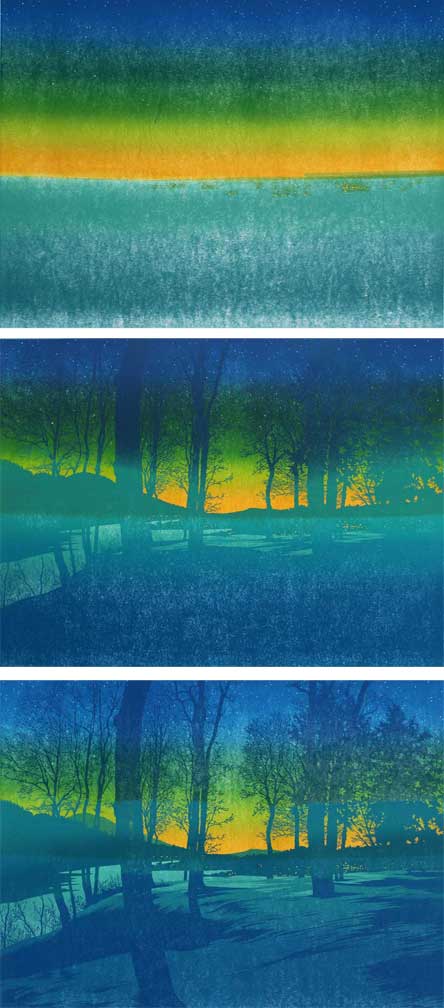
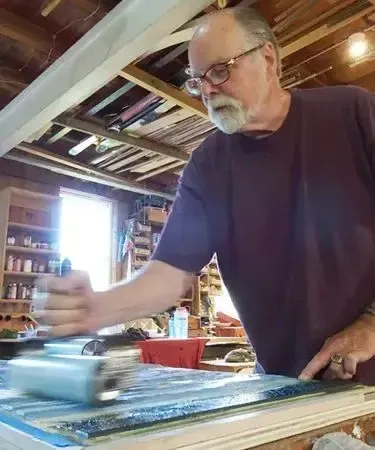
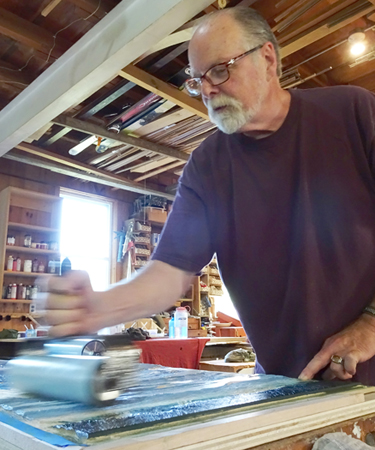
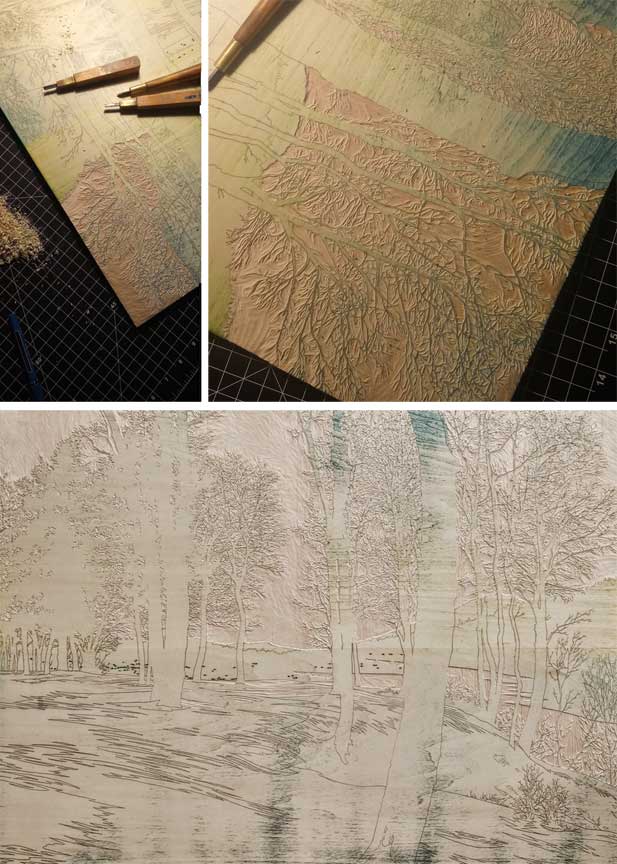
In the case of this print, the carving was challenging. The trees you see above are not carved. Rather, I'm carving the sky and the snow, leaving the trees (and all of the tiny little branches!) Because this is a pretty large block, it took seven full days of carving to go from the first image (above) to the second. I think my eyes are still recovering.... These pictures of the block being carved might give you some idea of what I mean. The upper left image is one day of carving. The second picture is after four days. The bottom is the fully carved block ready for the third impression (the middle image above).
But my work is just that: work. Although I might shake my head sometimes and wonder what I was thinking when I started, I'm not usually disappointed. And I don't think you will be either. Here's the final print.
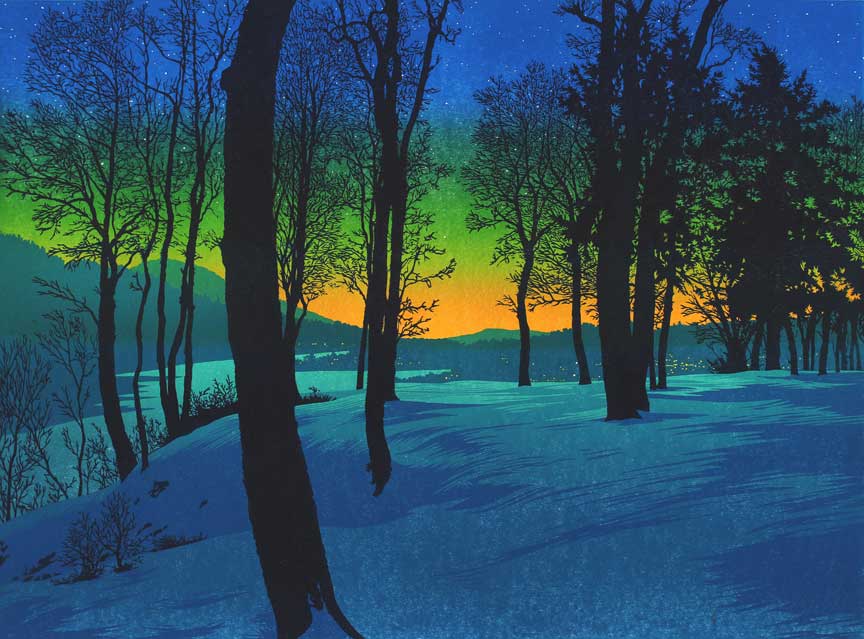
"Twilight" woodcut, 18½" x 25"
And here are a couple of details of the print:
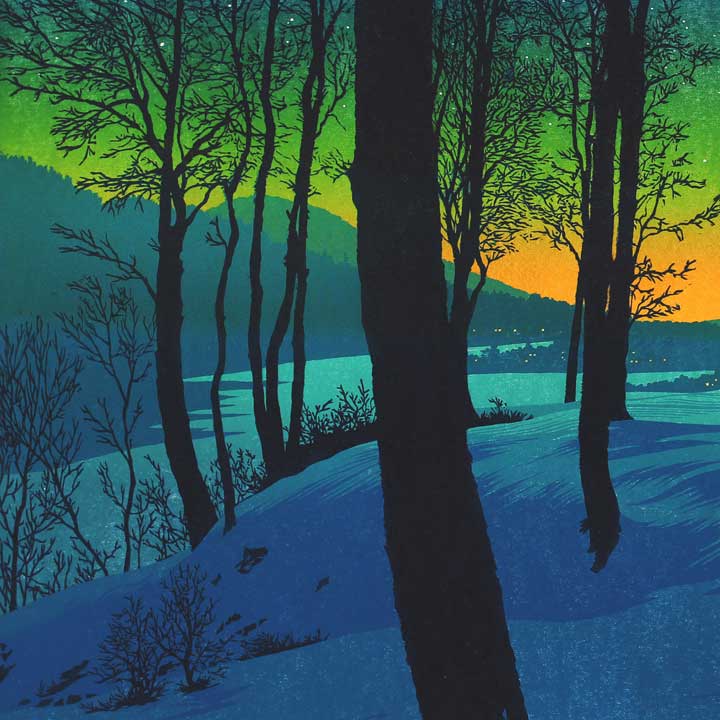
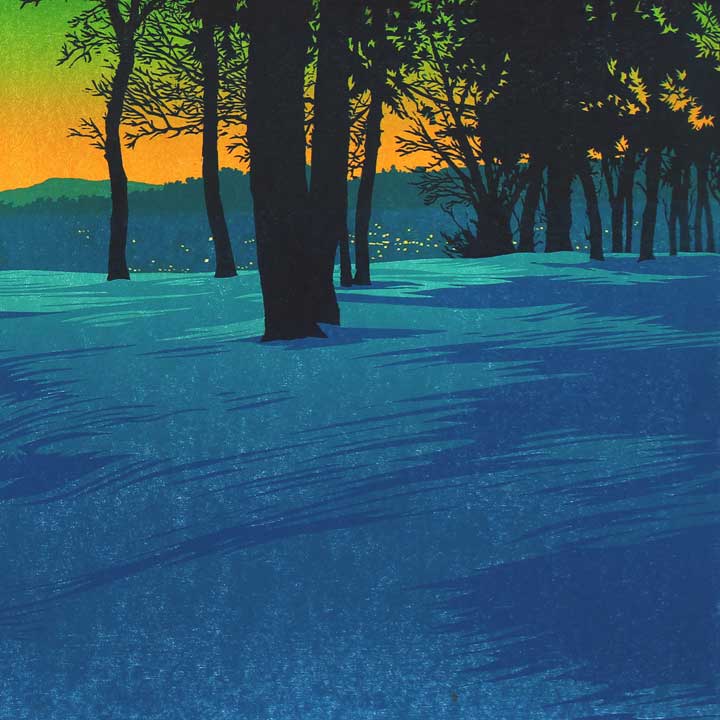
And that about does it for the time being. I do hope you've enjoyed seeing how I did this print. It is a striking and successful print, I think. I like the strong colors and the composition does, in fact, benefit from the larger size of the print.
Do drop me a line and let me know what you think. I enjoy hearing from you!
![]()
William